Setting up an OpenWRT-Based Router - 10/05/25
The core function of a router is to act as a bridge between networks. In its simplest form, a router has two interfaces: Wide Area Network (WAN) and Local Area Network (LAN). Local devices are connected to the LAN port, often via a switch or wireless access point. The WAN port connects to an external network of some kind. In most instances, this external network will be the Internet. Connections from LAN to WAN (and in certain instances, from WAN to LAN) are mediated by the router.
Consider a simple home router: The WAN port connects to the cable entering from the street. In most cases, this is a telephone line (DSL) or coaxial cable (Cable); but some houses are now being served with Fibre-To-The-Premises, in which case the WAN port would connect straight to a fibre-optic cable. The LAN port is usually brought out via a built-in network switch; this allows the connection to emerge via several Ethernet ports. Most home routers also bridge the LAN to an internal WiFi access point, providing wireless LAN access to mobile devices. For more information about the fundamentals of routers, see my guide, Networking Infrastructure Introduction.
Whilst some home routers are quite specialised and feature unusual WAN/LAN ports, virtually any
computational device with two Ethernet ports can function as a router, given suitable software.
On such a device, one port becomes the WAN, and the other the LAN. A dual-Ethernet-port router,
whilst only of limited use for connecting directly to a DSL or Cable broadband service, is very
useful for setting up a network within a network
. That is to say: a small number of devices
may be connected to the LAN of such a router; connecting its WAN to a larger, parent
network,
allows the LAN-connected devices to reach the parent
network whilst being otherwise
segregated from it. As far as the parent
network is concerned, only one device - the router
- is connected to it. This sort of arrangement is rather useful if connecting to unfamiliar
Ethernet networks.
For example, in a hotel room, the WAN interface of a router could be connected to the hotel
guest Ethernet network, thus providing internet access for any device on the router's LAN.
LAN-connected devices, however, remain masked
behind the router, as far as the upstream
hotel network is concerned.
An additional advantage of a simple router is that, on unfamiliar networks (such as the hotel example above), it provides a connection point over which one has control. For example, on a large corporate network it is not usually possible for users to log into the central company router and view settings such as DHCP IP address leases. On a locally-controlled miniature router, however, this is entirely possible.
I have recently configured a number of these simple
dual-Ethernet routers for use setting
up a series of self-contained LANs within a large corporate network: each router's WAN is
registered and uplinks to the corporate Ethernet network. Any device(s) can be connected to
the router's LAN, including network switches to increase the number of available local
Ethernet ports. Using these routers, it is possible to keep all the LANs segregated and
to exercise much greater control over the IP address settings etc. on each one.
The first stage was to choose a suitable dual-Ethernet device to use as my mini router. There
exist many off-the-shelf travel routers
which essentially carry out the exact function which
I was after. However, I have used some of these in the past (notably a TP-Link N300) and found
them to be somewhat lacking in their functionality and reliability. Furthermore, I wanted a
device capable of running a site-to-site VPN client, to link with geographically distinct
LANs; most consumer travel routers
have limited support in this regard.
Whilst there do exist dual-Ethernet travel routers
which are capable of advanced functionality
such as DNS blocking, storage sharing, and VPN tunnelling, many of these (such as the popular
GL.iNet models) are quite expensive, reaching in excess of £100 per unit. This was somewhat
out of my price range, so I sought an alternative in the form of the Aerohive HiveAP 330.
The HiveAP 330 is a now-discontinued model of managed wireless access point (AP) from Extreme Networks. The unit has two Ethernet ports, a 12V power socket, two WiFi antennas (1x 5GHz and 1x 2.4GHz), and a serial console socket (brought out Cisco-style via an RJ45 connector). In addition to the 12V power jack, the unit can alternatively be powered via PoE through its Eth0 Ethernet port. These devices are available second-hand online for extremely good prices.
Obviously, a WiFi AP wouldn't usually be much use as a router, because the on-board firmware would lack any of the functions expected by a router: DHCP server, firewall, Network Address Translator (NAT), etc. However, these devices support being flashed with the third-party OpenWRT firmware.
Below: An Aerohive HiveAP 330 wireless access point (AP):

OpenWRT is an extremely powerful Linux distro aimed at embedded devices such as routers. It supports an impressively wide variety of hardware, including these Aerohive units. Compatibility is helped by the fact that the HiveAP 330 uses the U-Boot bootloader. With OpenWRT applied to a device, its capabilities are massively increased: services such as DHCP, firewalling, NAT, file-sharing, and VPN tunnelling become available, and the operation of each can be configured in detail. OpenWRT is therefore able to add functionality for which one would normally pay considerably more, if using an off-the-shelf preconfigured device.
To flash OpenWRT onto the Aerohive I followed this excellent guide: https://massmesh.org/wiki/index.php?title=Aerohive_AP330. The following accessories are required:
I found that the OpenWRT download URLs in the guide were out of date, so I ended up downloading the relevant files for OpenWRT version 21 manually from the parent URL.
In essence, OpenWRT may be installed by using the serial console to interrupt the bootloader
before the stock firmware has a chance to boot. A standard password is then entered, giving
access to the bootloader's console. From here, the OpenWRT kernel is retrieved from the Linux
TFTP server and booted entirely from RAM. Once booted, the sysupgrade file is transferred
over SSH and used to actually write the firmware to the device's ROM. This makes the install
persistent. For some reason, I found that my first attempt at flashing to ROM failed, and
the device just rebooted back into its stock firmware. However, after a second attempt, it
seemed to take
and upon reboot I was presented with an OpenWRT command prompt!
Below: An OpenWRT command prompt. This is presented via the serial console upon boot-up:
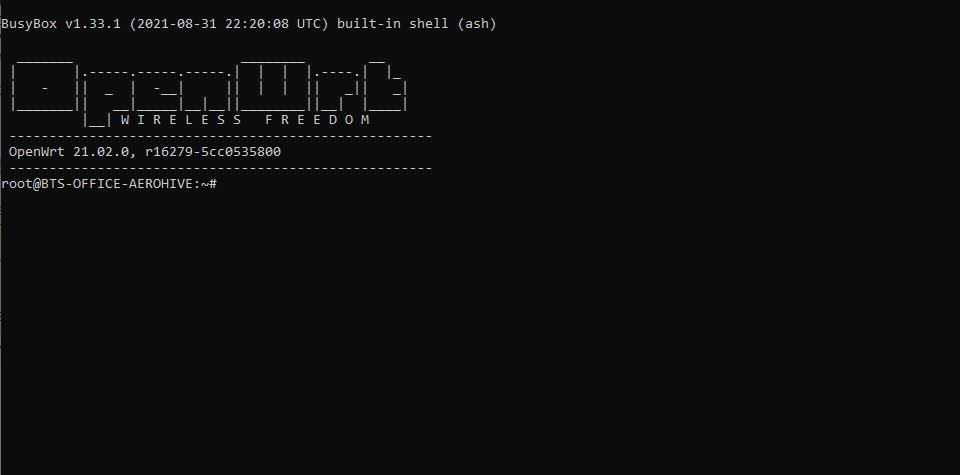
OpenWRT, being Linux-based, includes a regular Linux command line. This is accessible either via the serial console or via SSH. Additionally, it also includes LuCI, a web-based configuration utility. LuCI is useful for configuring most common system settings, such as DHCP leases, subnets, hostname, and DNS options. For more advanced configuration, such as package installation or VPN setup, I prefer to use the command line. For setting up VPN connections, for example, I find that it is easiest simply to install OpenVPN from the command line and to place a .ovpn client configuration file in the /etc/openvpn/ directory. Both of these actions can technically be performed via the LuCI interface, but I find it more cumbersome, particularly when entering OpenVPN settings.
The default OpenWRT configuration uses the Eth0 Ethernet interface as the router's WAN port, and Eth1 as LAN. One of the wireless interfaces may also be bridged to LAN, using the br-lan bridge interface. For most cases, this configuration is perfectly adequate.
For my installations, I largely left the settings in their as-installed states. The only major
addition I made was to install OpenVPN, add a client configuration, and add a corresponding
OpenVPN
interface in LuCI. I then added firewall rules to allow traffic to flow freely
between OpenVPN and the LAN network. A more minor addition was some extra lines at the
end of the /etc/config/dhcp file, based on the syntax suggested in
this article
for enabling the necessary DHCP options for
PXE booting. In this case,
the PXE server was located at the other end of the OpenVPN connection!
Overall, these deployed routers have worked excellently. Reliability is superb, and I have found the physical built quality of the devices to be reassuringly sturdy. The presence of the 12V DC barrel jack, as well as the PoE support, is greatly appreciated, as it gives the greatest versatility when choosing a power source. The on-board hardware is capable of NAT-ing at almost a gigabit, based on some initial speedtest.net results. However, OpenVPN tunnelling is rather slower, being limited to less than 20Mbps.
The wireless interfaces are capable of operating at up to Wireless N speeds. So these are not that impressive compared with newer AC or AX devices, but are perfectly adequate for my purposes. Most devices on these routers' LANs, in my case, are all wired via network switches, anyway.
If you're looking for the functionality and versatility of an enterprise-grade router, for the price of a second-hand decade-old WiFi AP, then I'd recommend these devices wholeheartedly. At the time of writing, there even seem to be some Ebay accounts selling Aerohive APs pre-flashed with OpenWRT, if you're nervous about the firmware installation process.